
Blocked drains in Poole can quickly turn from an inconvenience into an urgent headache for homeowners. Knowing exactly how to assess the blockage and gather the right tools gives you a head start on finding a reliable, cost-effective solution. This guide simplifies the first crucial step for tackling drainage issues, making it easier to choose the best method and understand your responsibilities, with a focus on systematic assessment as the foundation for successful unblocking.
Table of Contents
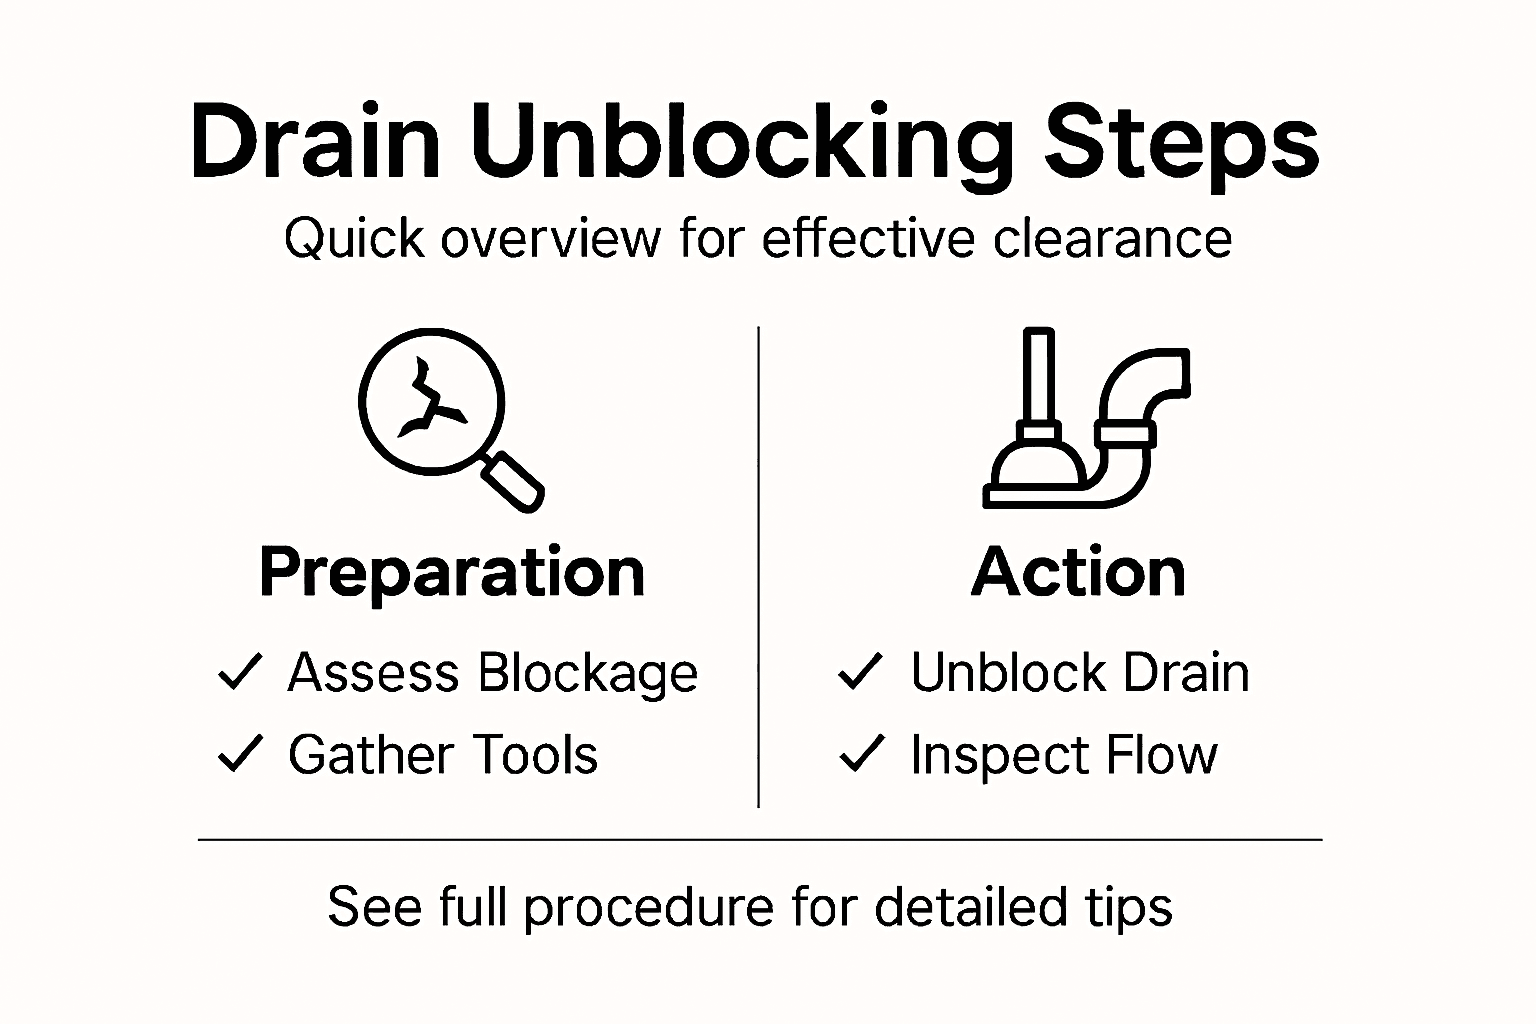
- Step 1: Assess The Blockage And Gather Essential Tools
- Step 2: Prepare The Drain Area For Safe Intervention
- Step 3: Apply Effective Unblocking Techniques
- Step 4: Inspect The Drain For Complete Clearance
- Step 5: Restore Flow And Verify Lasting Resolution
Quick Summary
| Key Insight | Explanation |
|---|---|
| 1. Assess blockage before action | Thoroughly examining the blockage helps identify the best unblocking method and prevents further complications. |
| 2. Gather essential tools | Having protective gloves, a plunger, drain rods, and other tools prepared ensures a smooth unblocking process. |
| 3. Use safe preparation methods | Create a safe workspace by clearing the area and using barriers to prevent accidents during intervention. |
| 4. Apply systematic unblocking techniques | Start with gentle methods like plunging, advancing to more forceful techniques only if needed. |
| 5. Conduct a comprehensive inspection | After unblocking, verify that the drain is clear and functioning properly to prevent future blockages. |
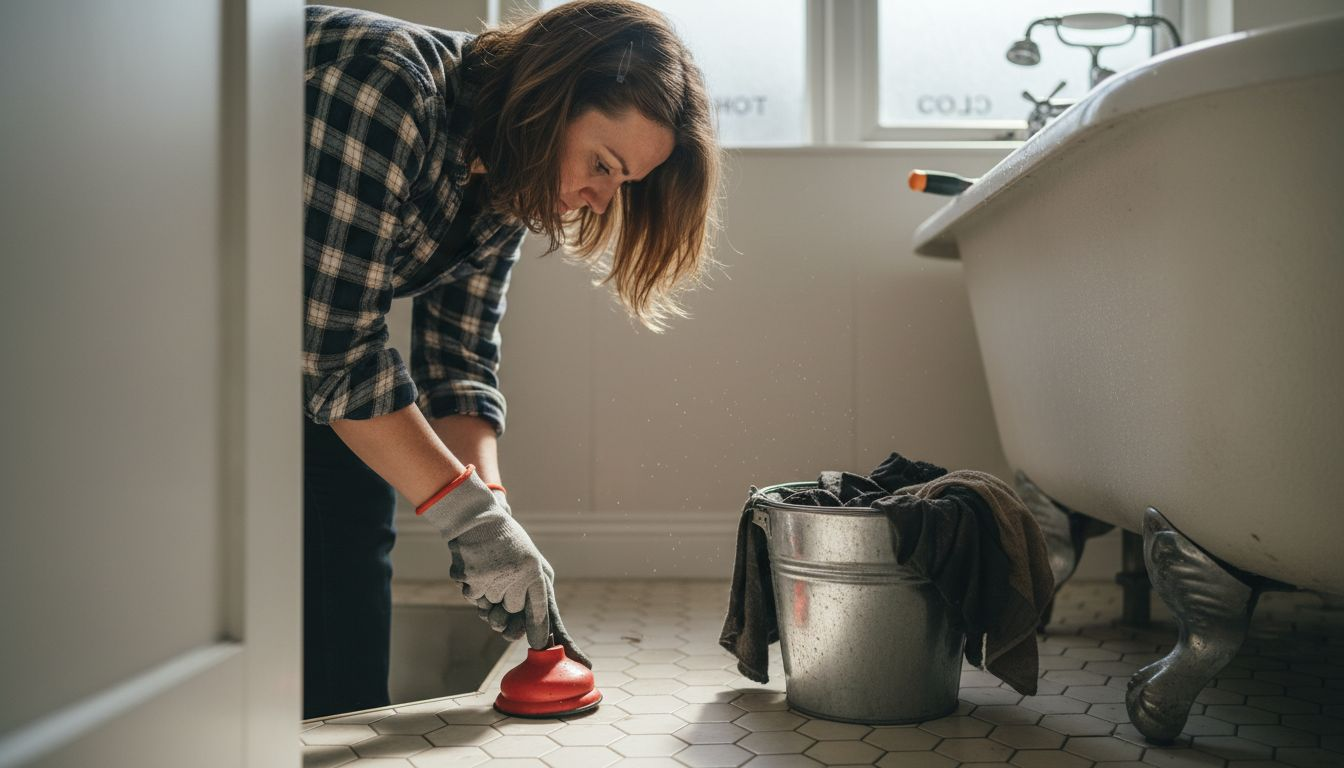
Step 1: Assess the blockage and gather essential tools
When facing a drainage issue, your first crucial task is to systematically assess the blockage and prepare the right equipment. Understanding the nature of the blockage will help you determine the most effective unblocking strategy. Determining blockage causes and responsibilities requires careful observation and preliminary investigation.
Before diving into unblocking procedures, you’ll need to gather a comprehensive toolkit. Here are the essential items you should have ready:
- Protective gloves to maintain hygiene
- Plunger with strong suction capability
- Drain rods for manual blockage removal
- Flexible drain snake or auger
- Bucket for collecting debris
- Torch or headlamp for visual inspection
- High-pressure water jet (optional)
Start by examining the symptoms of your drainage problem. Look for these telltale signs of a blockage:
- Water draining unusually slowly
- Gurgling sounds from pipes
- Unpleasant odours emerging from drains
- Visible water backing up in sinks or toilets
Careful initial assessment can prevent more serious drainage complications. Take time to observe and document the specific characteristics of the blockage before attempting any intervention.
To help you select the best tool for drain unblocking, here is a comparison of their effectiveness and suitability:
| Tool | Best Use | Effectiveness | Pipe Damage Risk |
|---|---|---|---|
| Plunger | Minor surface blockages | Good for soft obstructions | Very low |
| Drain rod | Deeper or stubborn blockages | High for solid debris | Moderate with improper use |
| Drain snake | Unclogging bends and tight spaces | Excellent for tangled debris | Low |
| Water jet | Stubborn and greasy blockages | Very high | Moderate, may harm old pipes |
| Enzymatic cleaner | Organic matter buildup | Medium, gradual action | None |
| Chemical cleaner | Persistent, unresponsive blockages | Fast, but not always thorough | High, may damage pipes |
A thorough initial investigation can save you time, money, and potential property damage.
Pro tip: Always wear protective gloves and have a bucket nearby to manage any unexpected debris or water during your drainage investigation.
Step 2: Prepare the drain area for safe intervention
Before attempting any drain unblocking procedure, you must create a safe and controlled environment that minimises potential risks and complies with safety regulations. Drainage system preparation requires careful environmental management to prevent accidents and potential contamination.
Your preparation should include several critical steps to ensure a secure work area:
- Clear the surrounding workspace completely
- Remove any movable items near the drain
- Place warning signs or barriers to prevent accidental entry
- Ensure adequate lighting for proper visibility
- Keep cleaning materials and protective equipment nearby
Specifically, focus on these key safety measures:
- Locate and mark all drainage access points
- Identify foul water and surface water systems
- Secure the immediate work area
- Check for potential environmental hazards
- Prepare personal protective equipment
Proper preparation prevents potential complications and ensures a systematic approach to drain intervention. Understanding the specific characteristics of your drainage system will help you navigate the unblocking process more effectively.
Careful preparation is the foundation of a successful and safe drain unblocking procedure.
Pro tip: Always keep a detailed sketch or photographic record of the drainage area before beginning any intervention to help you understand the system’s layout.
Step 3: Apply effective unblocking techniques
Now that you’ve prepared the area, it’s time to tackle the drain blockage systematically and effectively. Home drain blockages require strategic mechanical approaches that minimise potential pipe damage and environmental impact.
Your unblocking strategy should involve a progressive approach, starting with the least invasive methods:
- Plunger technique for initial blockage removal
- Manual debris extraction using drain snake
- Enzymatic drain cleaner for organic matter
- High-pressure water jet for stubborn clogs
- Chemical drain cleaner as absolute last resort
Follow these step-by-step unblocking techniques:
- Begin with gentle plunging motion
- Use drain snake if plunging fails
- Apply enzymatic cleaner for organic blockages
- Consider professional assistance if methods fail
- Avoid aggressive chemical treatments
Systematic intervention is key to successful drain unblocking. Understanding the specific type of blockage helps you choose the most appropriate technique without causing unnecessary pipe damage.
Patience and methodical approach are more effective than aggressive chemical solutions.
Pro tip: Always have a bucket and towels ready to catch any unexpected water or debris during the unblocking process.
Step 4: Inspect the drain for complete clearance
After successfully unblocking your drain, a thorough inspection is crucial to ensure the blockage has been completely resolved. CCTV drain surveys provide comprehensive visual confirmation of your drainage system’s condition and integrity.
Your inspection should cover these key elements:
- Check water flow thoroughly
- Examine drain for any remaining debris
- Look for potential pipe damage
- Verify complete blockage removal
- Assess overall drainage performance
Follow these systematic inspection steps:
- Run water at full pressure
- Observe drainage speed and smoothness
- Listen for any unusual gurgling sounds
- Visually inspect drain entry and exit points
- Consider professional CCTV survey if uncertain
Comprehensive drainage assessment helps prevent future blockages and identifies potential underlying issues. A meticulous inspection can save you significant time and expense in long-term maintenance.
For a clear overview, here is a summary of inspection methods used after drain unblocking:
| Inspection Method | Purpose | Required Tools | Reliability |
|---|---|---|---|
| Visual check | Confirm visible clearance | Torch, gloves | Moderate |
| Full water run | Assess flow improvement | Running taps | High |
| Listening for sounds | Detect hidden issues | Quiet environment | Medium |
| CCTV survey | Check pipe interior | Specialist camera | Very high |
A thorough inspection is your best defence against recurring drainage problems.
Pro tip: Keep a torch and protective gloves handy during your inspection to safely examine hard-to-see areas.
Step 5: Restore flow and verify lasting resolution
As you complete your drain unblocking procedure, the final stage involves confirming that your drainage system has fully recovered its functionality. Building regulations require comprehensive drainage system checks to ensure long-term performance and safety.
Your restoration and verification process should include these critical checks:
- Test water flow at multiple fixtures
- Monitor drainage speed and consistency
- Check for any residual blockage symptoms
- Ensure complete waste water removal
- Validate system’s overall hydraulic performance
Execute these systematic verification steps:
- Run water in all connected fixtures
- Observe drainage speed and smoothness
- Listen for unusual sounds or gurgling
- Check for potential leaks or seepage
- Document system’s performance for future reference
Comprehensive system validation helps prevent future drainage complications and identifies potential underlying issues. A meticulous final assessment ensures your drainage system operates at optimal efficiency.
Thorough verification today prevents costly repairs tomorrow.
Pro tip: Keep a written log of your drain’s performance for the next few weeks to track any emerging issues.
Expert Drain Unblocking Solutions Tailored for Poole Residents
If you have been struggling with slow drainage, persistent blockages, or uncertainty about the condition of your pipes, you are not alone. The “Drain Unblocking Procedure 2026 for Effective Results” article highlights how critical it is to follow a systematic approach using the right tools and thorough inspection techniques to safely clear blockages and restore proper flow. At Blocked Drains Poole, we understand these challenges, especially the complexities of Poole’s older drainage infrastructure including root ingress and fragile pipework.

Our professional team offers a comprehensive range of services from quick drain unblocking and expert CCTV drain surveys to advanced repairs and relining. We prioritise safety, transparency, and lasting results backed by fast 24/7 emergency response. Do not let drainage problems escalate or cause property damage. Visit Blocked Drains Poole now to arrange a free quote or emergency inspection and secure peace of mind with trusted local experts who truly understand your drainage system.
Discover more about our drain inspection and repair services and learn how we make complex drainage issues simple to solve.
Frequently Asked Questions
What are the initial steps in the Drain Unblocking Procedure 2026?
Start by assessing the blockage and gathering essential tools like protective gloves, a plunger, and a drain snake. Observe the symptoms of the blockage to determine the best unblocking strategy.
How can I prepare the drain area for safe intervention?
Clear the surrounding workspace and remove any movable items to prevent accidents. Place warning signs and ensure adequate lighting to create a secure environment before starting the unblocking process.
What unblocking techniques should I try first?
Begin with a plunger to remove minor blockages, then use a drain snake for stubborn clogs. If these methods fail, consider using an enzymatic cleaner or a high-pressure water jet as the next steps.
How do I inspect the drain after unblocking?
Run water at full pressure to check for proper drainage while listening for unusual sounds and visually inspecting access points. This will help confirm that the blockage has been completely resolved and prevent future issues.
What should I do if the drain does not clear after my initial attempts?
If the blockage persists, consider enlisting professional assistance or using a more robust method, such as a chemical cleaner, as a last resort. Document your findings to help identify any recurring patterns or issues in the drainage system.
How can I ensure long-term functionality of my drainage system?
Test water flow at multiple fixtures and monitor drainage performance regularly. Keeping a written log of the system’s performance over several weeks will help you track any emerging issues and maintain optimal efficiency.