
Sudden blocked drains in your Poole home can turn a calm morning into a frustration fast. Knowing what to do next can feel daunting, especially when water starts pooling where it should not. Taking a careful look at your drainage system and understanding each repair step is key to preventing costly damage. This practical guide highlights the most important actions, from thorough initial assessment to restoring safe conditions, so you can tackle common issues with clarity—or spot when professional help is best.
Table of Contents
- Step 1: Assess The Drain Problem Thoroughly
- Step 2: Locate The Damaged Drain Section
- Step 3: Prepare Tools And Safety Gear
- Step 4: Repair The Drain Using Proper Methods
- Step 5: Test Repaired Drain For Functionality
- Step 6: Clean Up The Area And Monitor Results
Quick Summary
| Key Point | Explanation |
|---|---|
| 1. Thorough assessment is essential | A systematic initial assessment helps identify specific drainage issues, preventing costly repairs later. Monitor symptoms like slow drainage and foul odours. |
| 2. Proper tools and safety gear are critical | Equip yourself with appropriate protective clothing and tools to minimise health risks and ensure effective repair execution. |
| 3. Use modern repair methods wisely | Methods like pipe relining and patch repairs can efficiently fix damage without extensive excavation, ensuring long-term durability. |
| 4. Test repairs to ensure effectiveness | Conduct various tests such as visual inspections and water flow assessments to confirm that the drain functions properly after repairs. |
| 5. Maintain and monitor regularly | Continuous monitoring and proper post-repair clean-up assure ongoing drainage health and early identification of potential issues. |
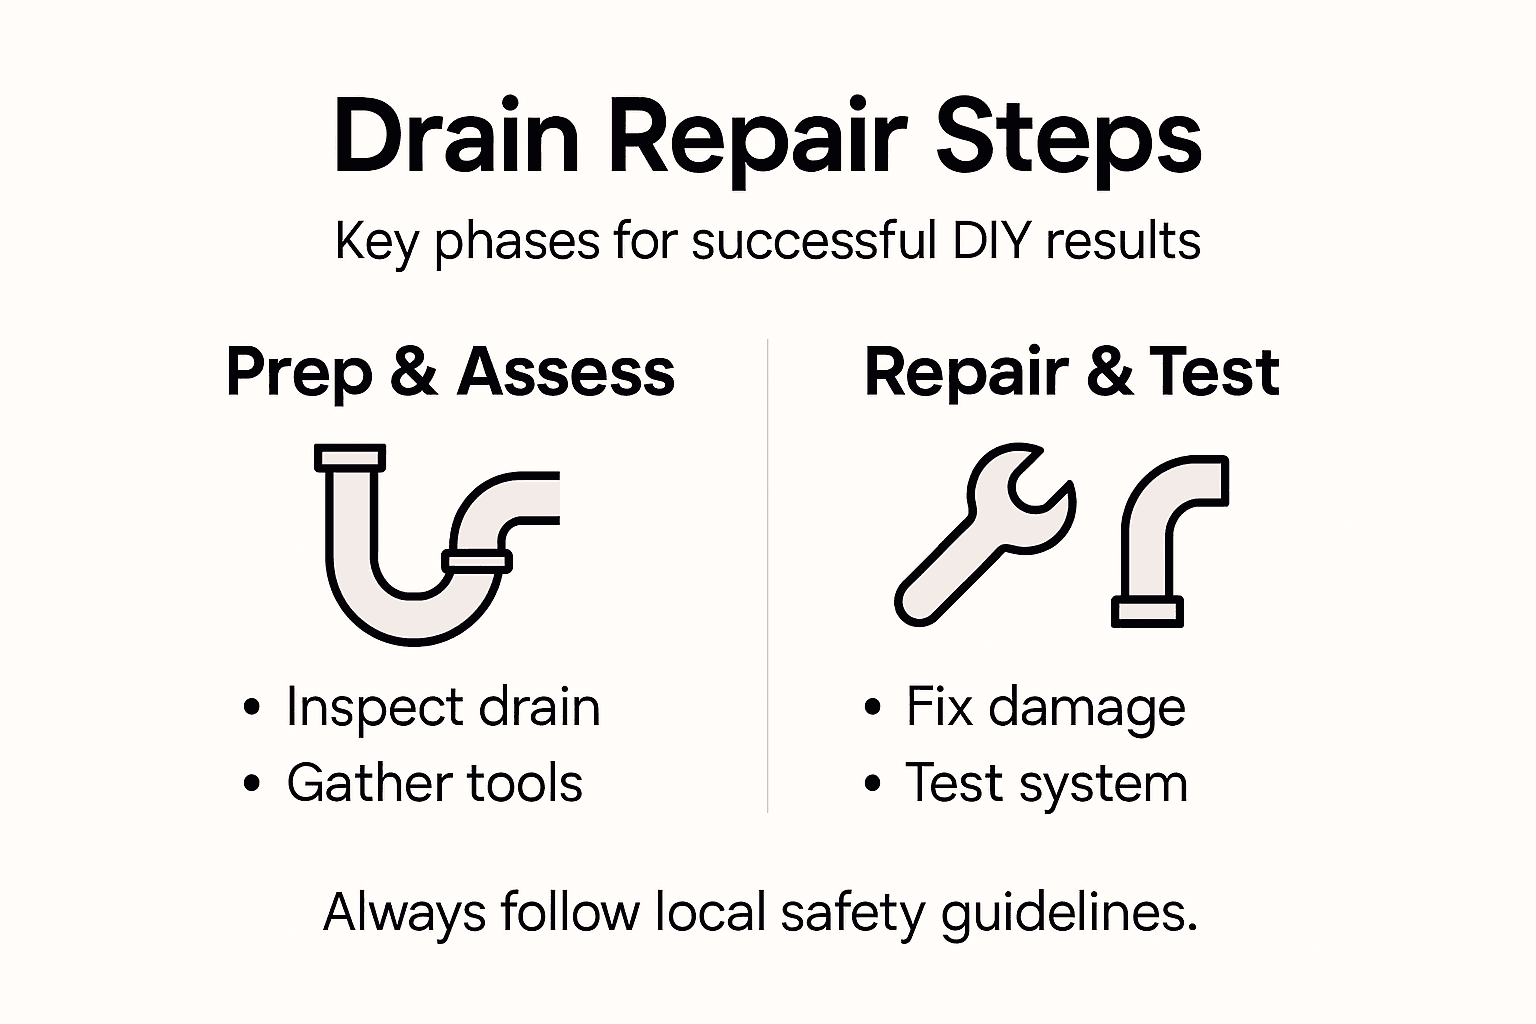
Step 1: Assess the drain problem thoroughly
Diagnosing drainage issues requires a systematic and thorough approach. Understanding the specific nature of your drainage problem is crucial before attempting any repairs, as national drainage standards recommend comprehensive initial assessment.
To effectively assess your drain problem, follow these strategic steps:
- Identify the drainage system type: Determine whether you have a separate or combined drainage system
- Observe visible symptoms: Look for signs like slow drainage, gurgling sounds, foul odours, or water backup
- Check water flow: Run taps and flush toilets to understand the extent of blockage or drainage issues
- Inspect drainage points: Examine external drains, gullies, and access points for obvious blockages or damage
Careful examination helps prevent potential long-term damage and expensive repairs. Understanding drainage system requirements enables homeowners to make informed decisions about potential interventions.
Thorough initial assessment can save significant time and money in subsequent drain repair processes.
Expert advice: Always document your observations and take photographs to help professionals understand the drainage issue if further assistance is required.
Step 2: Locate the damaged drain section
Identifying the precise location of drainage damage is crucial for effective repairs. Approved drainage documentation provides essential guidance on systematically tracing underground drain issues.
To locate damaged drain sections, you’ll need to employ several strategic techniques:
- Visual inspection: Look for obvious signs of damage like surface water pooling, soil erosion, or unusual ground depressions
- Listen for unusual sounds: Pay attention to gurgling noises from drains or toilets, which can indicate blockages
- Check drainage performance: Monitor water flow rates and observe any backing up or slow drainage
- External examination: Inspect drain covers, access points, and connecting pipework for visible cracks or misalignments
Modern diagnostic techniques can significantly improve your ability to pinpoint drainage problems quickly and accurately. Some homeowners might require specialised equipment like drain cameras or moisture detection tools to identify less obvious issues.
Careful and methodical investigation is key to understanding the full extent of drain damage.
Expert advice: Consider drawing a basic sketch of your property’s drainage layout before beginning your investigation, which can help you track potential problem areas more effectively.
Step 3: Prepare tools and safety gear
Before diving into any drain repair project, proper preparation is paramount. Health and safety guidelines emphasise the critical importance of comprehensive risk assessment and appropriate protective equipment.
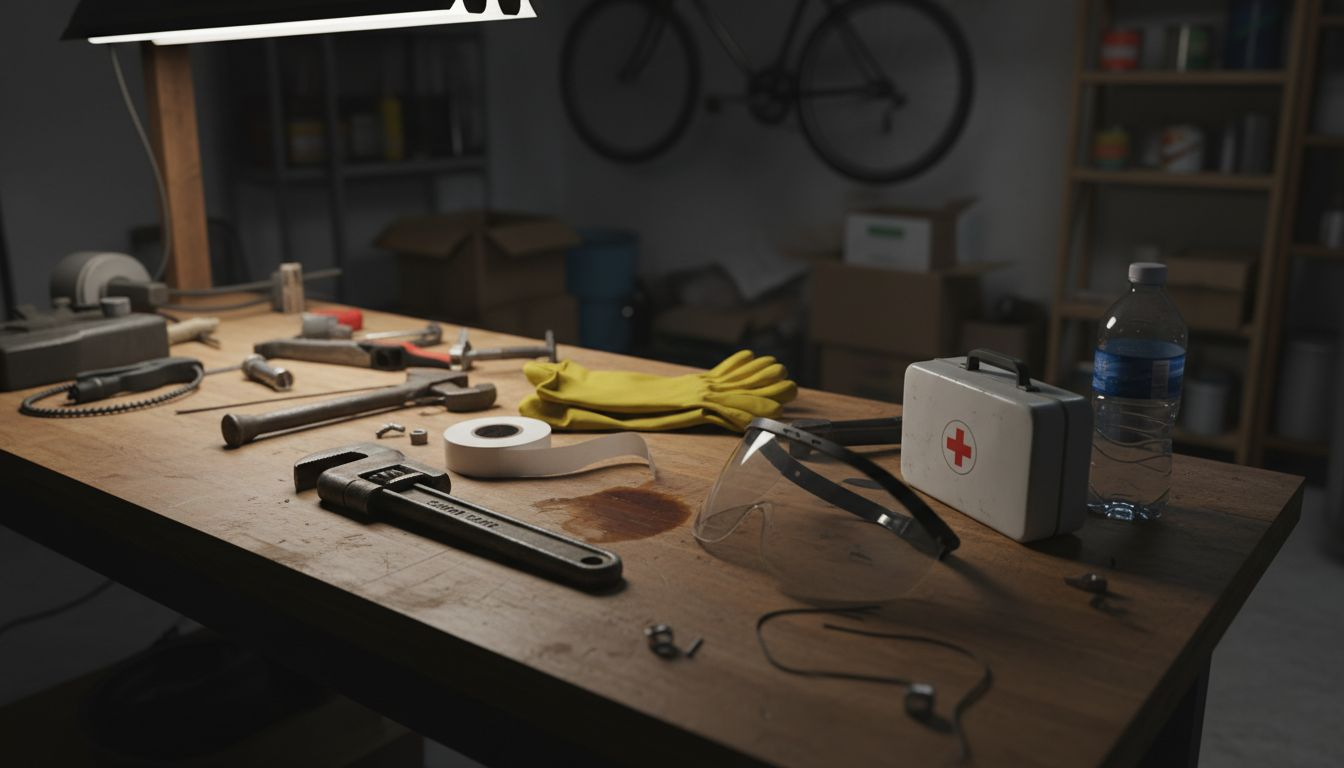
Essential tools and safety gear for drain repair include:
- Protective clothing: Waterproof overalls, thick rubber gloves, safety goggles
- Respiratory protection: Dust masks or respirators to prevent inhalation of harmful particles
- Basic repair tools: Adjustable wrench, plumber’s tape, drain rods, plunger
- Specialised equipment: CCTV drain camera, moisture detection tools
- Cleaning materials: Industrial-strength disinfectant, disposable cleaning cloths
Understanding drainage work safety practices helps minimise potential risks associated with confined spaces and hazardous materials. Proper ventilation and adequate lighting are crucial when working in restricted drainage environments.
Safety equipment is not optional – it’s your primary defence against potential workplace hazards.
Expert advice: Always have a first aid kit nearby and ensure someone knows you are working in a potentially risky area, in case of unexpected emergencies.
Step 4: Repair the drain using proper methods
Drain repair requires precision and careful technique to ensure long-term functionality. Drain lining technologies offer an innovative solution for addressing pipe damage without extensive excavation, minimising disruption to your property.
Key repair methods include:
- Pipe relining: Insert resin-saturated liner to create a new pipe within the existing damaged section
- Patch repairs: Apply targeted repair patches to specific damaged areas
- Pipe replacement: Remove and replace severely compromised pipe sections
- Jointing techniques: Use appropriate sealing methods to prevent future leaks
Adherence to building regulation standards is crucial when conducting drain repairs. These guidelines ensure your repair work meets structural and safety requirements, preventing potential future drainage complications.
Here’s a quick guide to modern drain repair methods and their typical suitability:
| Repair Method | Best Used For | Typical Disruption Level | Longevity |
|---|---|---|---|
| Pipe relining | Internal cracks, minor defects | Minimal, no excavation | 10–20 years |
| Patch repairs | Localised damage, small leaks | Low, targeted areas | 5–10 years |
| Pipe replacement | Severe structural failures | High, involves digging | Over 20 years |
| Jointing techniques | Preventing recurring leaks | Moderate, at joints | 10–15 years |
Proper repair methods are the difference between a temporary fix and a lasting solution.
Expert advice: Take detailed photographs of the damage before and during repairs, as these can be invaluable for future reference or professional consultation if needed.
Step 5: Test repaired drain for functionality
After completing drain repairs, verifying the effectiveness of your work is crucial. Building regulations require comprehensive testing to ensure proper drainage performance and prevent future complications.
Testing your repaired drain involves several critical steps:
- Visual inspection: Check for any visible leaks or structural irregularities
- Water flow test: Run water through the system to assess drainage speed and efficiency
- Pressure testing: Apply controlled water pressure to identify potential weak points
- Gradient verification: Ensure proper drainage slope for consistent water movement
- Long-term monitoring: Observe drainage performance over several days
Pay close attention to how water moves through the system, listening for unusual sounds and watching for any signs of backing up or slow drainage. Consistent water flow without interruption indicates a successful repair.
For long-term results, inspect your drain repair as follows:
| Testing Type | What It Reveals | How Often to Conduct |
|---|---|---|
| Visual inspection | Leaks, structural defects | Immediately after repair |
| Water flow test | Drainage speed, blockages | After repair; weekly for 1 month |
| Pressure testing | Weak points, pipe integrity | Once after repair completion |
| Gradient check | Proper water movement | During repair, verify slope |
| Long-term monitoring | Recurring issues, system health | Monthly for first quarter |
A thorough test today prevents expensive repairs tomorrow.
Expert advice: Take a video recording of your drainage test, which can serve as documentation and help professionals if you need further assistance.
Step 6: Clean up the area and monitor results
Completely cleaning and monitoring your work area ensures the long-term success of your drain repair. Environmental drainage standards emphasise the importance of thorough post-repair management.
Critical clean-up and monitoring steps include:
- Waste disposal: Remove all repair materials and debris responsibly
- Surface cleaning: Sanitise and restore the work area to original condition
- Tool sanitisation: Thoroughly clean and store repair tools
- Documentation: Record repair details and observations
- Continuous monitoring: Check drainage performance over subsequent weeks
Effective monitoring helps detect any potential recurring issues early, preventing more extensive damage. Sustainable drainage guidelines recommend regular inspections to maintain system health.
Proper clean-up and vigilant monitoring are your best defence against future drainage problems.
Expert advice: Create a simple maintenance log to track your drain’s performance, which can be invaluable for future reference or professional consultations.
Expert Help for Your Drain Repair Challenges
If you have followed the steps in our Drain Repair Guide for Effective DIY Solutions but still face persistent issues such as slow drainage, pipe damage, or uncertainty about the best repair method, trusted professional support is essential. At Blocked Drains Poole, we understand the complexities of Poole’s ageing drainage infrastructure and specialise in advanced repair techniques like pipe relining and CCTV surveys to accurately diagnose and fix underlying problems before they worsen.
Don’t let drainage issues disrupt your home or business with ongoing leaks or blockages. Our team offers transparent pricing with no call-out fees and is ready to respond 24/7 for urgent repairs. Benefit from expert guidance and long-lasting solutions tailored to your specific drainage needs in Poole and the Dorset area.

Ready to move beyond temporary fixes and ensure your drains function perfectly? Visit Blocked Drains Poole now to request a fast, reliable quote or emergency service. Explore our CCTV Drain Surveys or Drain Repair Services pages to learn how we guarantee professional results with minimal disruption. Act today to protect your property from costly future damage.
Frequently Asked Questions
How do I assess my drain problem effectively?
To assess your drain problem effectively, start by identifying the drainage system type, observing visible symptoms, and checking water flow. Run taps and flush toilets to evaluate the extent of any blockage. Document your findings, as this can help during repairs or if you need professional assistance.
What tools and safety gear do I need for drain repair?
Essential tools for drain repair include protective clothing, an adjustable wrench, plumber’s tape, and possibly specialised equipment like a CCTV drain camera. Equip yourself with safety gear such as waterproof overalls, thick rubber gloves, and safety goggles. Prepare your workspace by ensuring you have enough cleaning materials for post-repair sanitisation.
What are the best methods to repair a damaged drain?
Effective methods for repairing a damaged drain include pipe relining, patch repairs, and full pipe replacement, depending on the severity of the damage. Determine the appropriate method by assessing the location and extent of the issue, and choose a technique that minimises disruption. Following the correct procedure will ensure your repairs are long-lasting.
How can I test the repaired drain for proper functionality?
To test your repaired drain, carry out a visual inspection for leaks, conduct a water flow test, and verify the gradient to ensure proper drainage. Look for any unusual sounds or signs of backing up during the water flow test. Consistently check these aspects for at least 30 days after the repair to confirm effectiveness.
What should I do to clean up after completing drain repairs?
Clean up after drain repairs by disposing of waste materials properly and sanitising the work area to restore it to its original condition. Ensure that all repair tools are cleaned and stored appropriately. Document your repair work and observations for future reference, and monitor the drainage performance regularly to catch potential issues early.